Index
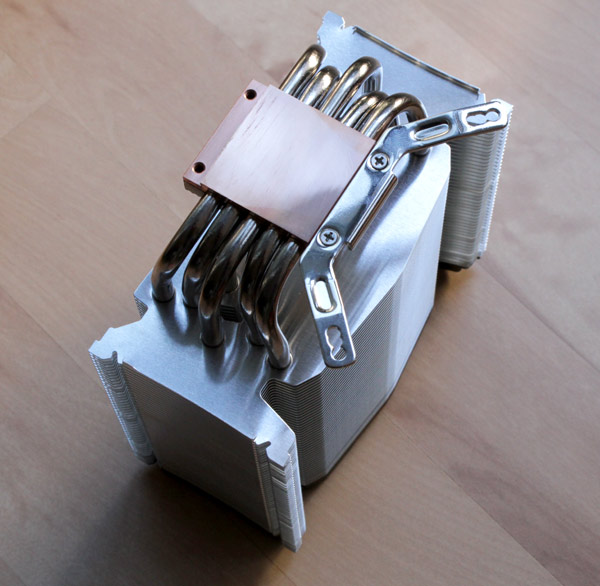
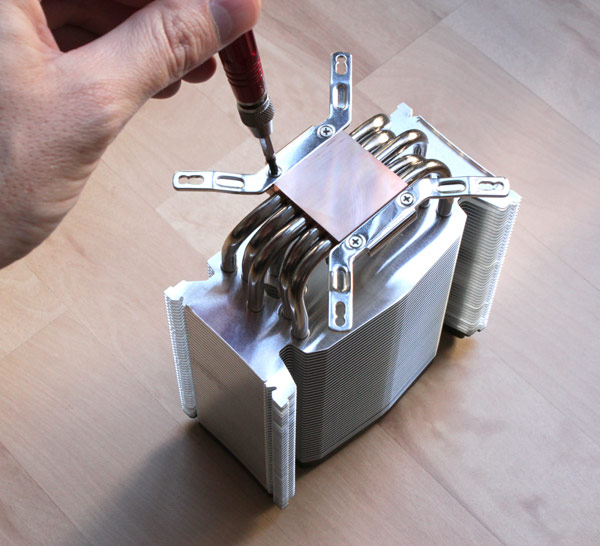
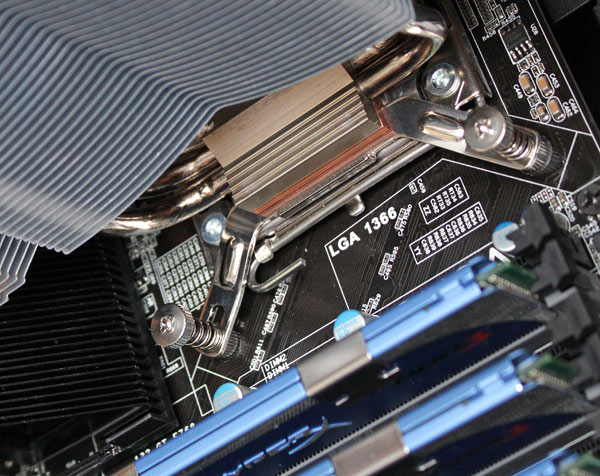
Mounting the GX-7 on Intel and AMD CPU will first require you to screw in mounting clips on the cooler base. The clips have several holes that you’ll use depending on your socket of choice. The mounting procedure is shot and nicely covered in the user manual.
Quite unexpectedly, setting up the four insulating spacers on the mounting holes around the socket took us longer than anything else. According to Gelid Solutions’s manual, the spacers should be put first. The next step is to set up the backplate on the back of the motherboard and put in screws. However, unless the spacers are 100% centered on the holes, you may run into minor trouble. Namely, we managed to send the spacer flying under the heatsink, and we could not take it out until we removed the entire motherboard. Long story short, you can put the spacers in afterwards.
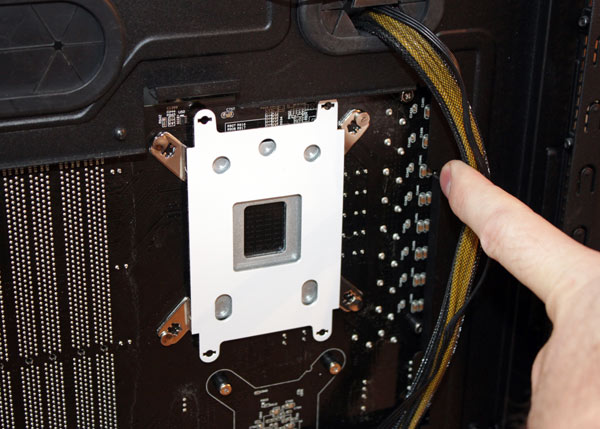
There are three holes on each corner of the backplate, the use of which depends on your socket of choice.
Unfortunately, the holes in one of the corners were not cut out properly so our screw moved. This is not that important as the screw head cannot fall through the hole, but we’d still rather have it work as specified. We think that Gelid Solutions should perfect its mounting methods for Intel sockets in the future.
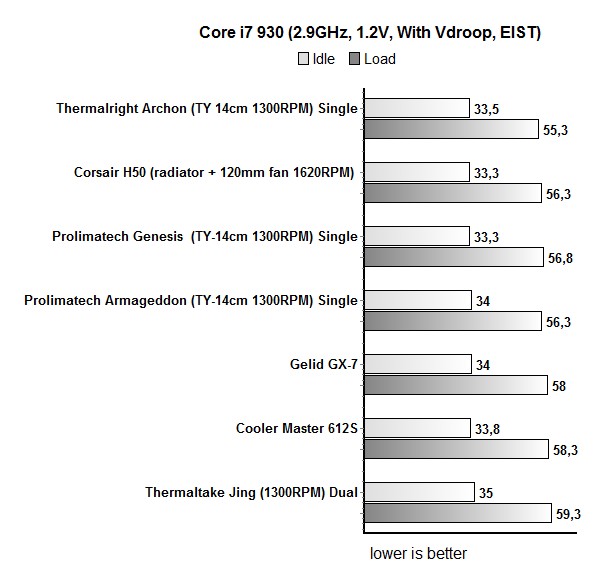
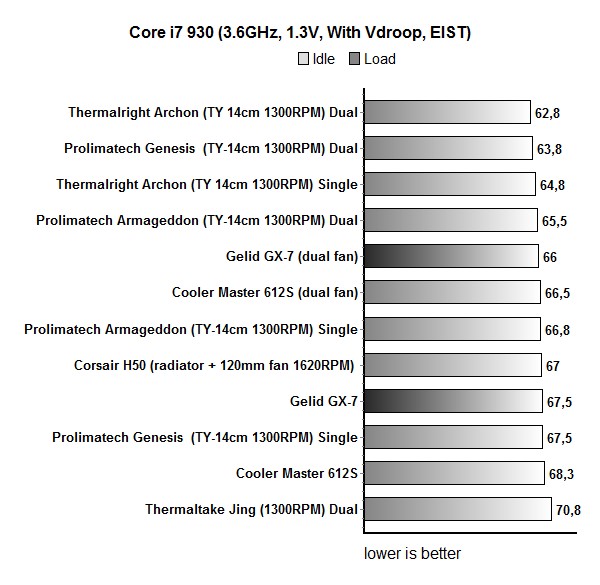
We used Gelid Solutions’s GX-7 mounted on EVGA’s FTW3 motherboard in Corsair Obsidian 800D case (with three 900rpm fans) at 22°C room temperature. We measured temperatures at Core i7 930’s reference clock (2.9GHz) and after overclocking it to 3.6GHz. In our tables, we used average temperatures of all four cores. We used GC-Extreme thermal paste for all our testing.
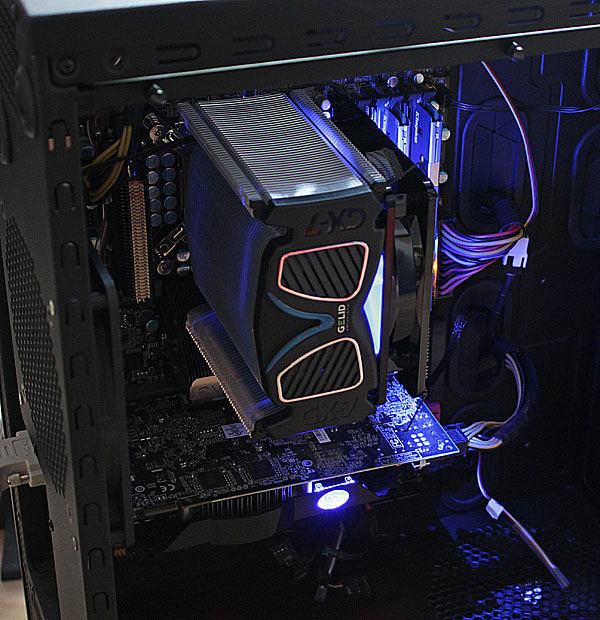
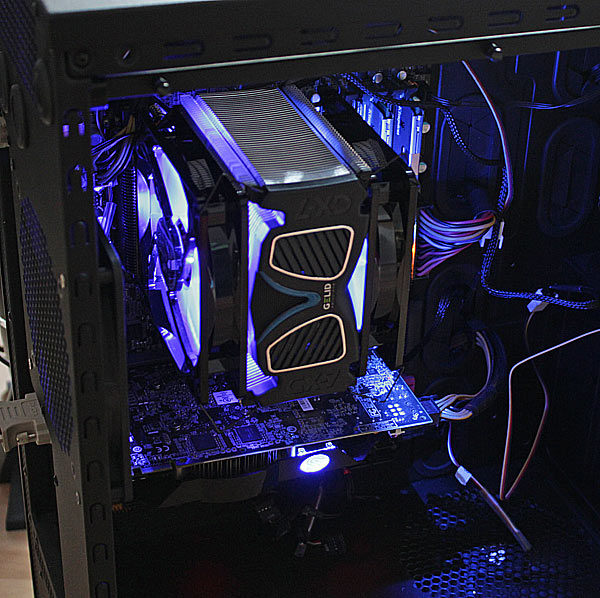
We first tested with the one provided Wing 12 PL Blue Fan (PWM, 10 – 26.8 dBA, 0.45A, 600 - 1800 rpm), and then repeated the test with two Wing 12 PL Blue Fans.
The results show that Gelid Solutions did a great job and its GX-7 can easily be classified as a high end cooler.
