Index
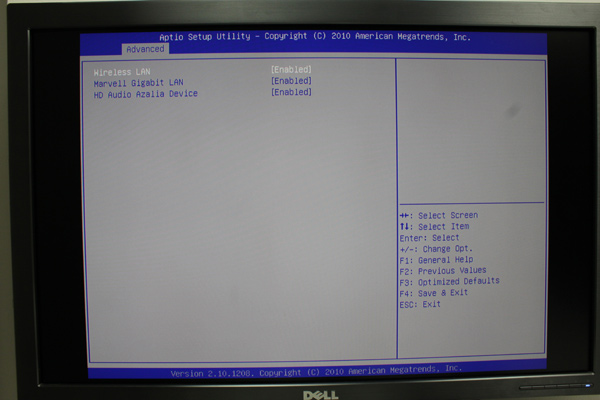
Bios looks like it was designed for a notebook, but it’s functional and it managed to identify the hardware correctly right off the bat. The Sapphire driver CD features a pdf file with a list of all bios options. The document is rather comprehensive, but many users won’t find it very helpful, as it just lists the settings and does not provide additional information. Luckily the default settings are ok and there is really no need to mess with them.
SATA mode is set to AHCI by default, but since we are dealing with a slow SATA II drive, no bios option will speed things up. It is good to know that the system offers SATA III support, something that will come in handy in case you ever want to upgrade.
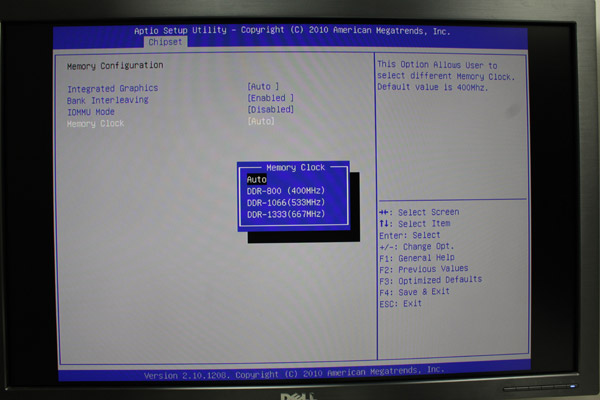
The memory runs at DDR3-1333 by default, and this is highest speed we can set in the bios.
The PC Health window shows us some rather high operating temperatures with the fan running at about 5550RPM. While we were playing round with bios options, the fan was running at high speed practically the whole time. It is possible to adjust the fan speed though, and you can opt for static or dynamic settings. We tried to use slightly less aggressive fan settings and keep the noise down, but in the end the temperature hit 85C, which was a bit outside our comfort zone.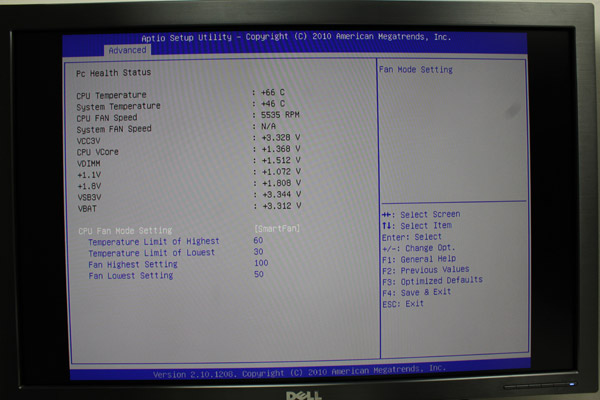
As we said, the HD3 has does not ship with preinstalled Windows, so potential buyers should bear this in mind. The approach allows users to use their own copy of Windows, or install Linux in any flavor. However, most consumers are not tech savvy and they might need some help in this department.
The Edge HD3 comes with preinstalled FreeDOS, which is basically like old MS-DOS, but a bit better. FreeDOS can be very useful sometimes, but you can run only programs intended for MS-DOS or for FreeDOS. You can check software list here.
Our decision was to install Windows 7 Professional 64-bit (the Edge HD3 is also Windows 8 compatible). If you do not want to buy a license for the operating system right now, you can install a trial version of Windows first. For example you can download a 90-days test version of Windows 8 here.
The boot order can be changed by pressing F7 at startup, without entering the bios. Since the system ships without an optical drive, you can install Windows from a bootable USB stick. The Windows 7 USB/DVD download tool comes in handy when you need to create a bootable USB stick from ISO file (you can find it here).
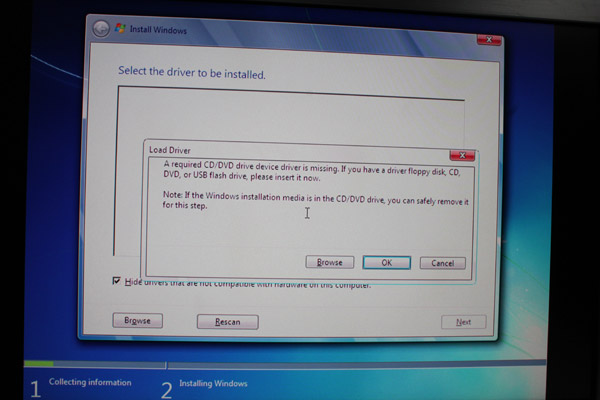
Our bootable USB was recognized correctly after inserting it into USB 2.0 as well after inserting it into USB 3.0 ports, but with USB 3.0 port we had a driver issue during Windows setup installation; we were asked to provide CD/DVD drivers, as shown on the screenshot below.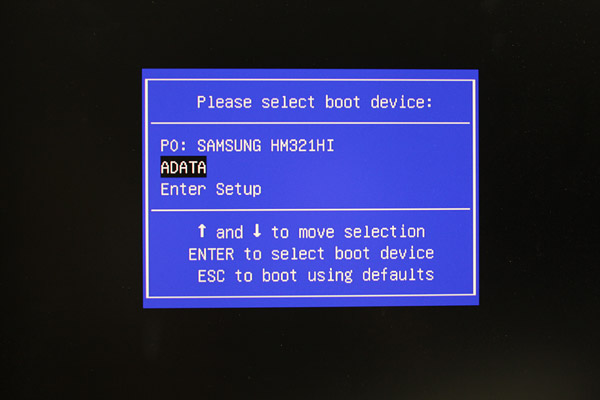
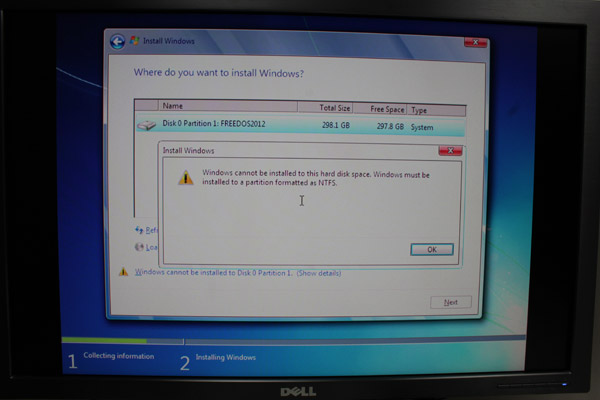
There is also another issue to take into account. We had to format the hard drive before we could proceed with the installation. FreeDOS was not installed on a separate partition and the whole disk was formatted in FAT32. Fortunately we did not have to install Windows 95 or dance the Macarena to sort things out. It’s possible to use FreeDOS to create a new partition for Windows 7/8, but we formatted the whole drive and erased FreeDOS completely. 