
Review: Cube design makes it special
UPDATE (25th July 14:00 CET): Aerocool has informed us that it has decided to replace the fans on the Dead Silence chassis. The new fans are quieter and the company says they are practically inaudible.
Aerocool is well known for its gamer cases with aggressive styling. However, the Dead Silence chassis offers consumers a new choice, an elegant, cube form for the home or office.
The Dead Silence enclosure measures 411mm x 265mm x 381mm (H x W x L) and it can accommodate micro ATX and mini ITX motherboards. As far as other components go, there is room for practically anything you can imagine, including a 240mm water cooling system, oversized CPU coolers and the longest graphics cards on the market. Not bad for a compact design.
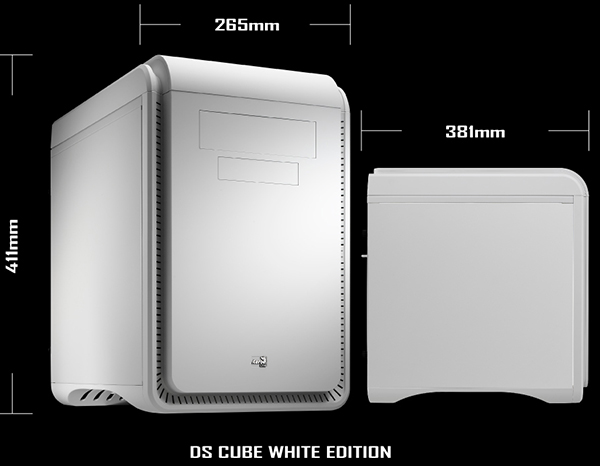
We reviewed a white sample, but Aerocool is offering the Dead Silence chassis in six different colours. On top of that each version is available with an optional, transparent side panel.
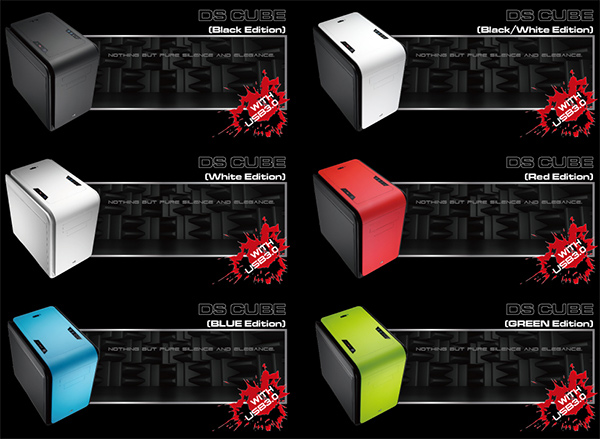
The price ranges between €60 and €70 depending on the colour and the choice of side panel. We received both the standard and transparent side panel with our samples, but consumers will have to choose one.
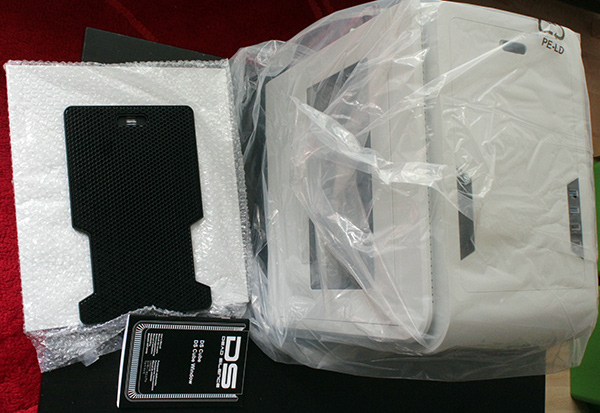
The packaging is plain cardboard with no product photos at all. The chassis is well protected so it should be safe during transport. In the box you’ll find an additional top cover with mesh vents. It can be used in lieu of the standard top cover which has no cooling vents.
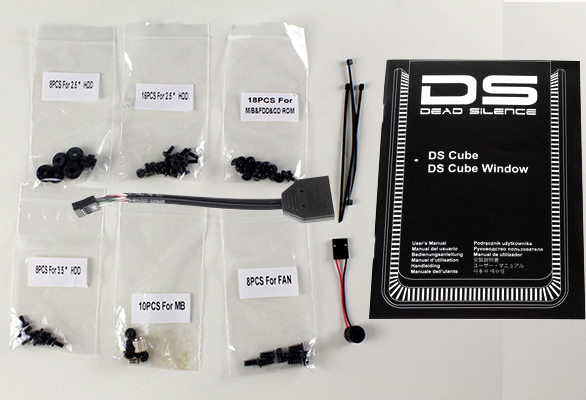
All small parts are sorted in their own plastic bags, which are clearly labeled. A nice touch is the cable that adapts USB 3.0 to a motherboard's USB 2.0 header, just in case you use an older motherboard with few (or no) USB 3.0 headers.
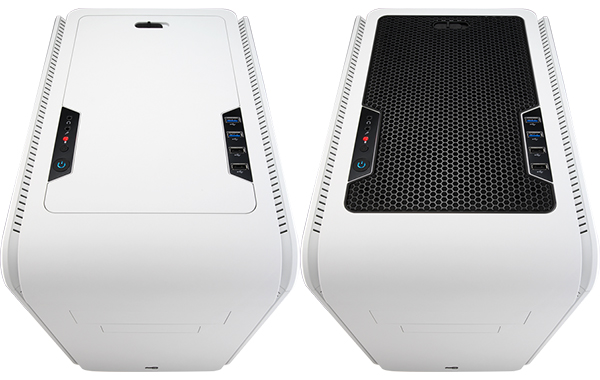
The company used special air inlets that make the front of the chassis look a lot more interesting. The inlets surround the front panel on three sides. The front panel itself has a single 5.25” slot for an optical drive along with a 3.5” slot. The Aerocool logo sits at the bottom, adding a bit of flare to the minimalistic front panel. The standard top panel, pictured on the left, can be replaced by a mesh cover to improve airflow.
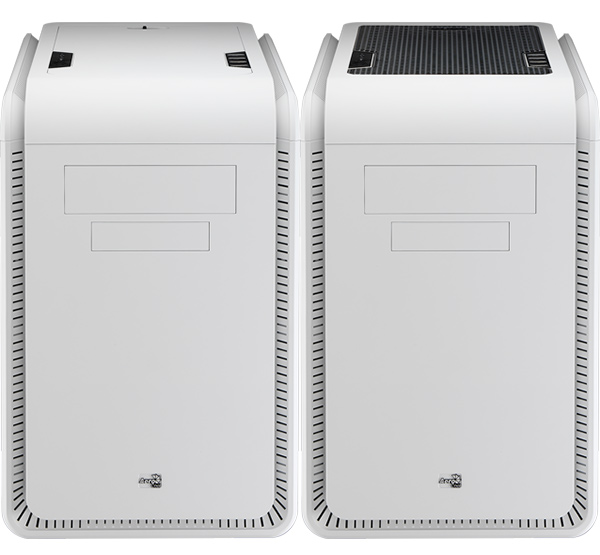
The panel can be easily removed, opened or swapped. The standard panel is used to keep noise down, while the mesh panel offers more space for hot air to find its way out of the chassis. Aerocool decided to use relatively quiet Deep Silence fans and the standard panel is obviously the company’s default choice. Should you need more airflow, you can easily replace it with the black mesh cover.
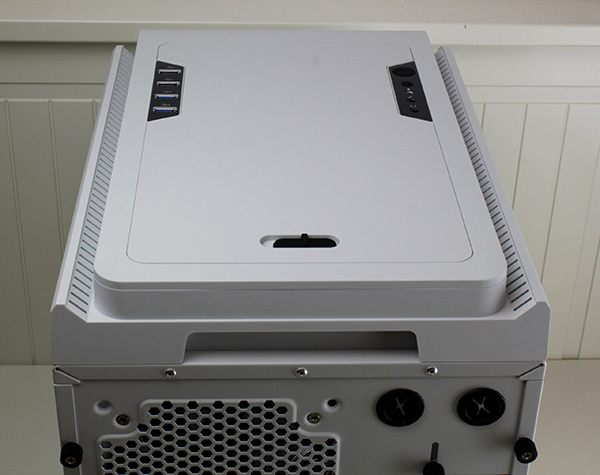
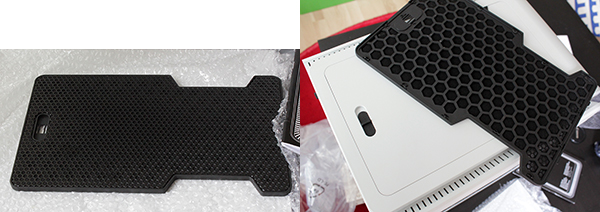
While swapping the panel you also need to move the slide-clip lever from the old to the new panel, which is the biggest step in the whole process. Still, it is easy to do and supplying a single lever helps keep costs down.
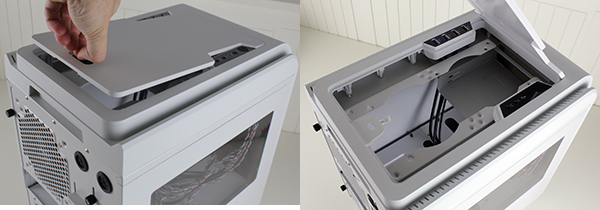
In addition to improving airflow, the mesh panel can be installed for aesthetic purposes, in case you want to add a bit of contrast to your rig.
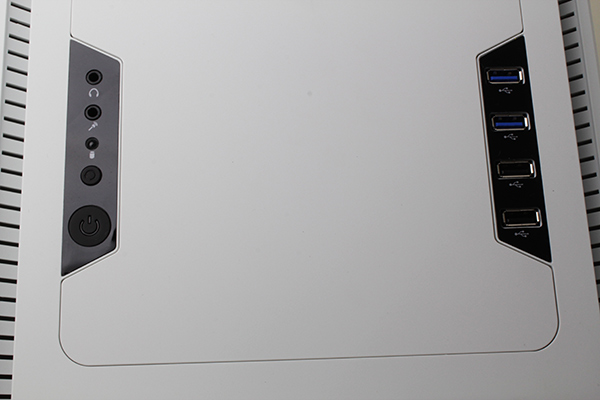
On either side of the panel you’ll find the standard list of connectors. The left side features two USB 3.0 and two USB 2.0 ports, while the right side is home to the power and reset buttons, along with the HDD activity LED and audio connectors.
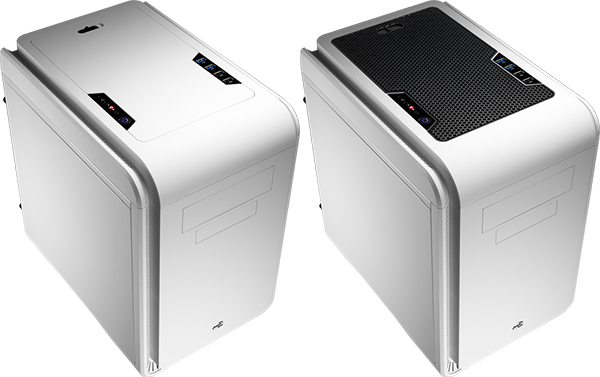
The front panel, the top panel and the frame are plastic, but they have a soft, matte finish.
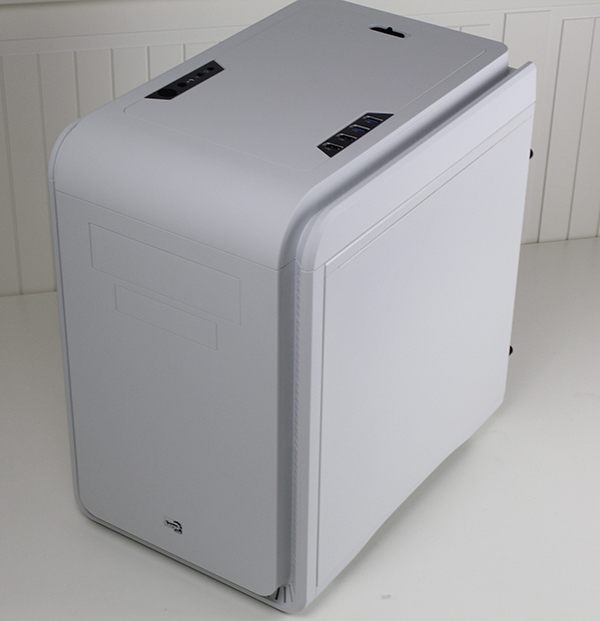
The side panels are metal. The finish is very similar, so at a glance most people won’t even notice that different materials are in play. The left and right side panels look the same and they don’t feature any openings or vents.
The next image shows the Dead Silence with the optional acrylic side window. The windows is big and it offers a good views of the motherboard, graphics card and CPU cooler. The HDDs and PSU are hidden “downstairs” and they are not visible.
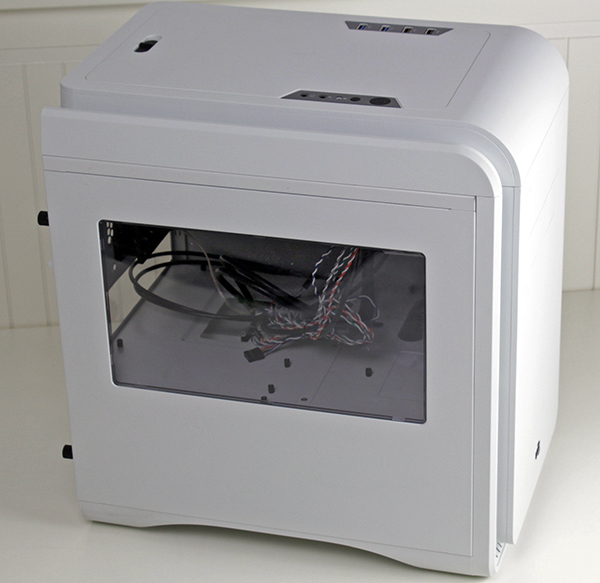
The front panel has to be removed if you want to stick an optical drive into the 5.25” bay. To remove the front panel simply hold the cutout at the bottom of the front panel and pull the bezel towards you with a firm tug. The front fan is not equipped with dust filter. You can access the fan from inside the case, but first you have to undo the screws from the front side.
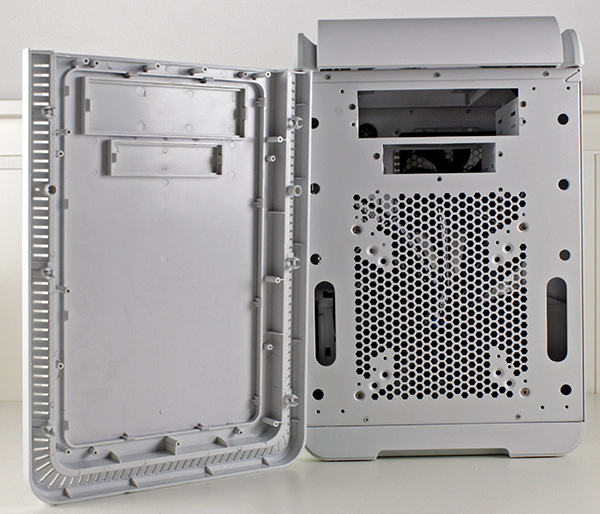
A look at the rear panel reveals an important thing to keep in mind – the Dead Silence is much wider than standard mid-tower cases. The location of the expansion slots as well as the vertically mounted I/O panels indicate that the motherboard is not mounted vertically – it is horizontal.
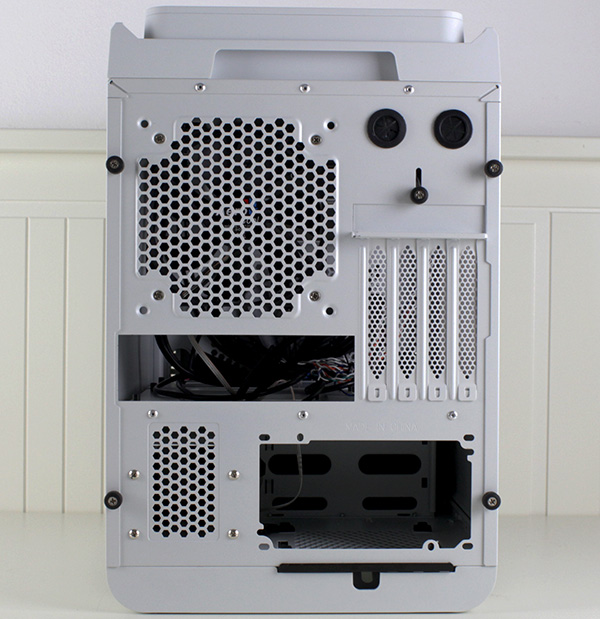
On the rear panel there is a pre-installed 120mm fan, but you can replace it with a 140mm fan.
You’ll find dust a filter underneath the PSU. The PSU filter can be taken out for cleaning with a tug from the back of the case.
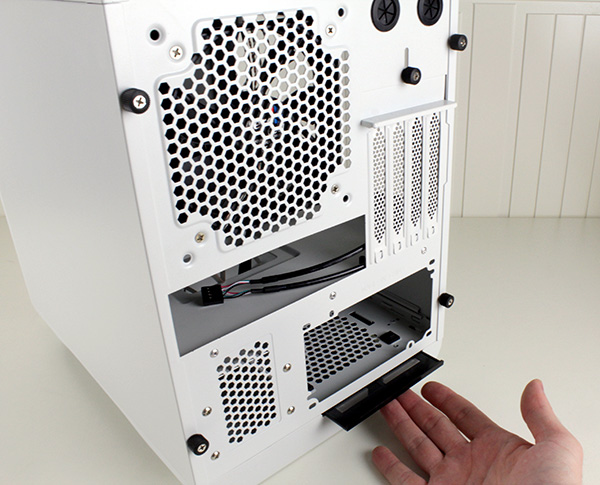
The side panels lack a handle or finger hole, but they are easily removed.
The Dead Silence stands on special feet that are stable and tall enough in the middle to allow the air to be drawn in from the bottom of the case.
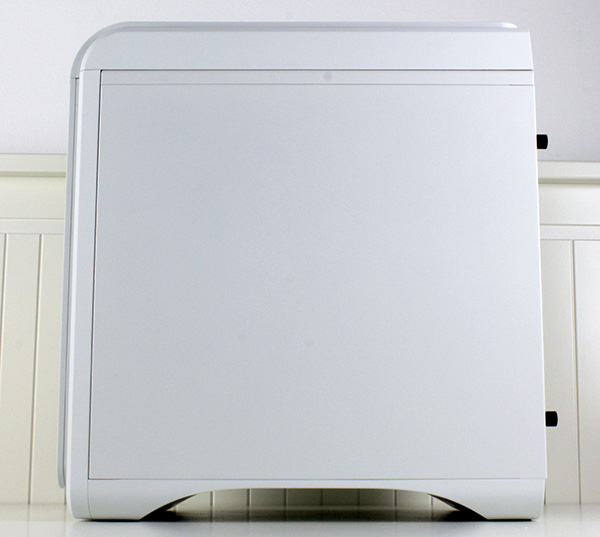
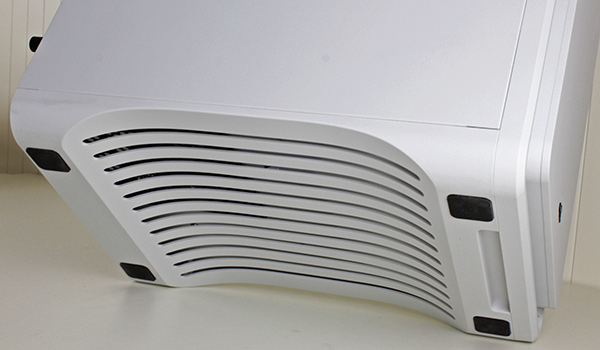
Due to its above average width, the Dead Silence chassis is quite roomy. The motherboard is mounted horizontally and even when it is in place there is a lot of room behind it, allowing users to install a huge graphics card.
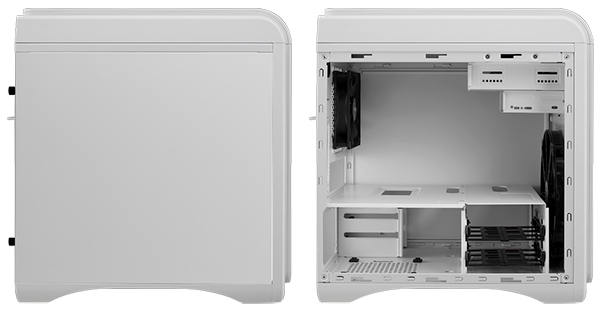
The chassis features two racks for HDD/SSD drives. The 3.5”/2.5” rack becomes accessible as soon as the side panel is removed. The second rack, which can only accommodate 2.5” drives, is obscured by the PSU. It can be accessed by removing the right side panel.
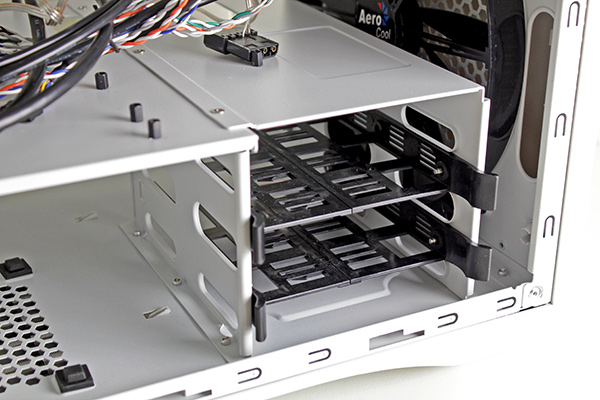
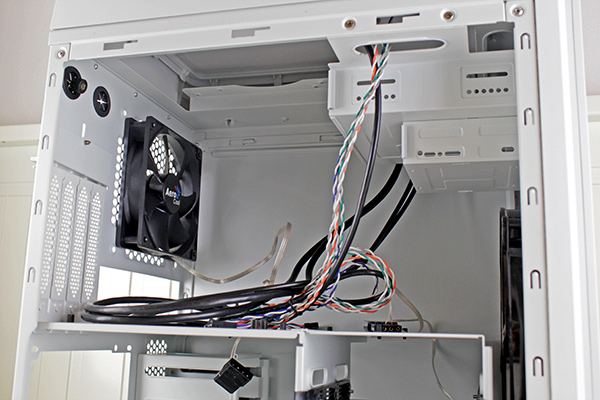
The next few images show the placement of internal I/O cables which serve the ports mounted on the top. All the cables are relatively long, allowing users to place them along the corners, thus reducing clutter and improving accessibility. Note the motherboard standoffs.


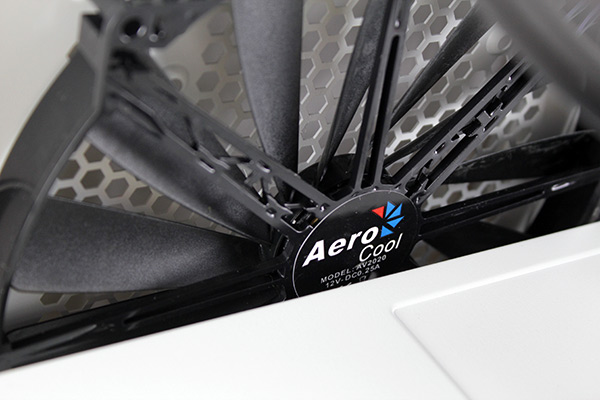
The Dead Silence comes with two fans, but the case can take two more. The front panel has a 20cm fan (600 RPM) while the rear panel has a 12cm unit (800rpm). The top panel can be equipped with two 12cm or 14cm fans.

A single 240mm radiator can be placed at the top panel. The radiator is installed under the removable top panel and to screw it in place you need to remove the external drive bay rack.


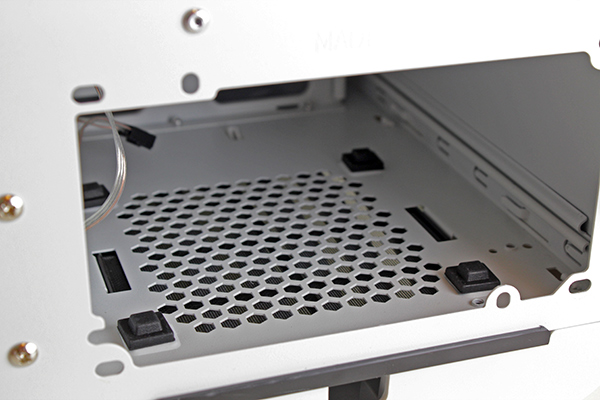
The PSU bay features rubber mountings. There is a mesh dust filter underneath and it can be easily removed.
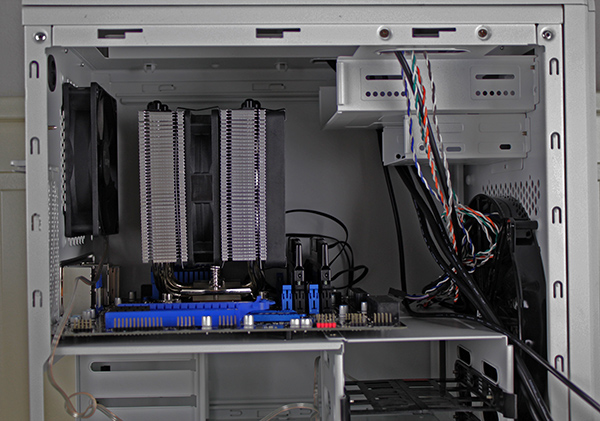
Once the left side panel is removed most of the interior is easily accessible. Installing hardware is a lot easier once the other panels are removed. We were able to install a massive Gelid Black Edition cooler, measuring 160mm. The cooler was not a tight fit, either. As you can see there was plenty of room around it. The chassis should have no trouble accommodating even bigger 190mm CPU coolers.
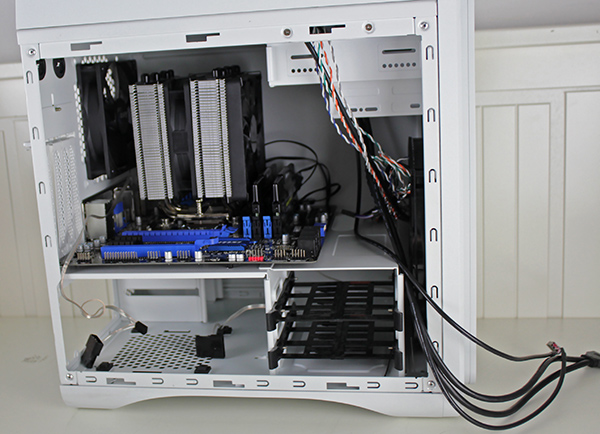
In case you have a bulky PSU, especially if it is a modular unit, it is best to connect all cables at the front because there isn’t a whole lot of room between the PSU bay and the 3.5” rack. Removing just one side of the rack is another option, but it involves undoing a few screws.
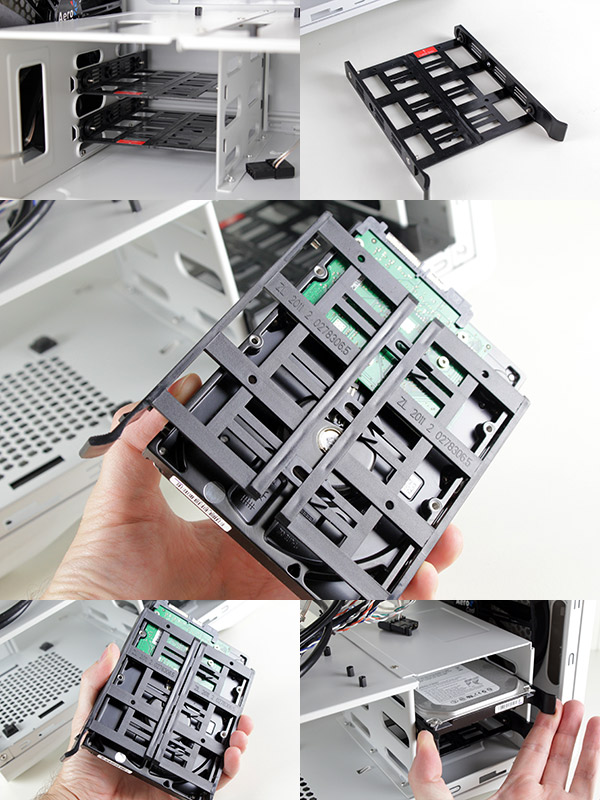
Installing a 3.5” hard drive is very simple. You have to extend the HDD tray out and align the screw holes to the pins on the tray. Then simply push the other side of the tray to secure the drive and return the tray into the rack. Smaller 2.5” drives are screwed in place from the bottom.
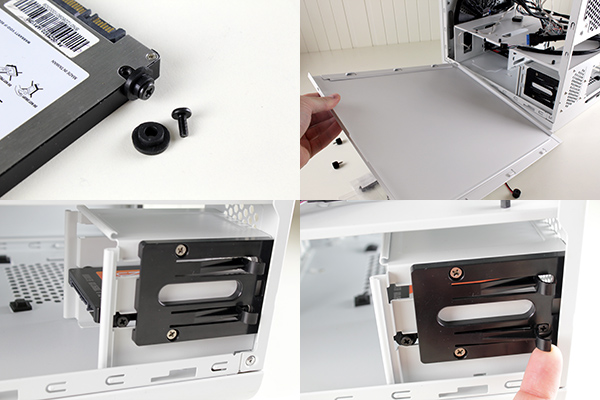
Installing 2.5” SSDs/SSHDs into the second storage rack is just as easy. You should use provided shock absorbers and secure the drive with screws. One simple mechanism locks the drive once it is inserted in the rack. The 2.5” rack can be removed if needed.
Standard graphics cards can be installed without removing the FDD, but we tried to install the biggest graphics card we could lay our hands on – the EVGA GTX 780 Classified. This card is taller and longer than standard GTX 780 cards. Its custom PCB is about 3cm higher and 1.5cm longer than the reference board. A huge heatsink is on top of it, covering the entire PCB. The card is about 28cm (11in) long.

Even with the FDD mount off, there is still the issue of routing the power cables to the graphics card. We did it after removing the 5.25” rack. Bear in mind that the oversized GTX 780 Classified is not a standard graphics card, it is quite a bit bigger. With a standard GTX 780 we had no issues at all.
The acrylic window offers a glimpse into the chassis. You can see the huge Classified card inside.

The front fan is virtually silent, while the rear 120mm is audible, but it’s not loud. A fan regulator would be helpful, or perhaps better fans. A 140mm fan can be installed on the rear panel.
UPDATE (25th July 14:00 CET): Aerocool has informed us that it has decided to replace the fans on the Dead Silence chassis. The new fans are quieter and the company says they are practically inaudible.
The Aerocool Dead Silence is a cube chassis and this particular form factor has been gaining popularity in recent years. We liked the design and we have no complains about the build quality, either. Some keen observers could note the resemblance to the BitFenix Prodigy mini ITX box, but Aerocool’s chassis is quite a bit bigger and it can accommodate mATX boards, too. Another similar chassis is the Xigmatek Aquila, which shares the same spec and has similar layout inside, but its looks a bit different.
The Dead Silence chassis can even cope with SLI/Crossfire setups, provided you have an adequate motherboard. The sheer width of the chassis offers a lot of room for high-end components in a relatively compact package. We proved this by packing it with some of the biggest and meanest kit we could scrape up in our lab – an oversized EVGA graphics card and a big CPU cooler. Water cooling is another option and a 240mm radiator should be big enough for most users.
However, we believe there is still room for improvement, literally. The form factor offers even more possibilities and there is a lot of unused space inside. Aerocool designers could play around with it in the future. An even smaller mini ITX version would also make sense.
As far as the Dead Silence branding goes, we must admit that it doesn’t exactly live up to its name. The 120mm fan on the rear panel is audible and it should be quieter. On the whole cooling performance is average. It can be improved simply by swapping out the top panel for the black mesh screen, replacing the rear fan, adding a couple more fans at the top or using water cooling.
Now for some good news. Aerocool’s Dead Silence chassis retails for just €60 to €70, which makes it relatively affordable. There is a range of colours to choose from and you can also get an acrylic side panel if you’re into that sort of thing. As far as premium chassis go, €60 doesn’t usually buy you much, but in this case it does. You get a quality product in an innovative form factor and in a wide range of colours, so we can only conclude Aerocool did a good job and offered a lot of value in the process.
